Keep up to date with the latest workshops and events by following Greensong
GREENSONG - Landscape Design
  • Home
    • About
  • Creating
    • Wildlife Gardens
    • Garden Workshops >
      • Beginners Gardening Series
      • Garden Consultancy
      • Garden courses with Caulfield South Community House courses
    • Veggie Gardens >
      • Propagating plants
  • Process
    • Online Process
  • Portfolio
  • Contact

Create your own vegetable garden or we can help you build skills and confidence to grow your own edible garden...

Picture
Working WITH YOU in YOUR garden space
Picture
SEASONAL VEGGIES FOR MELBOURNE
Picture
FREE DIY GARDENING INSTRUCTIONS
Picture
HEALTH AND SAFETY
Picture
DIY NO-DIG GARDEN & WORM TOWER
Picture
GARDEN CONSULTATION/ASSISTANCE
Picture
FREE DIY INSTRUCTIONS
Picture
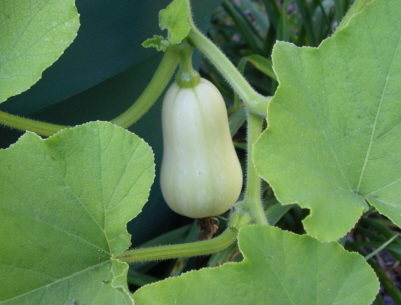
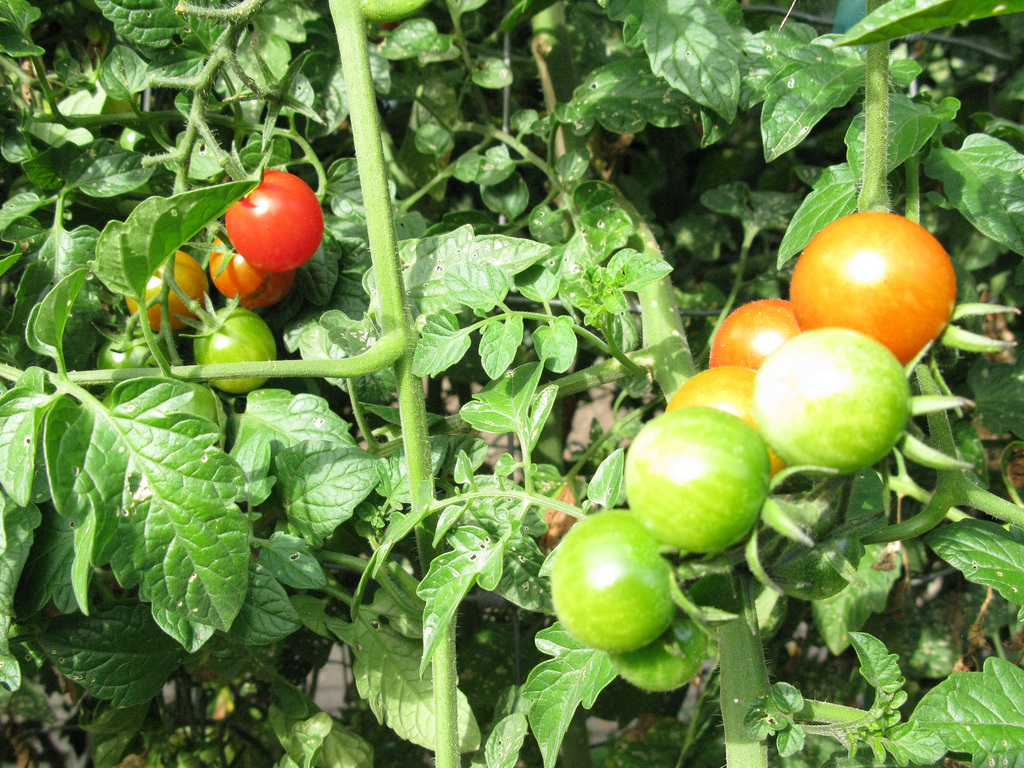
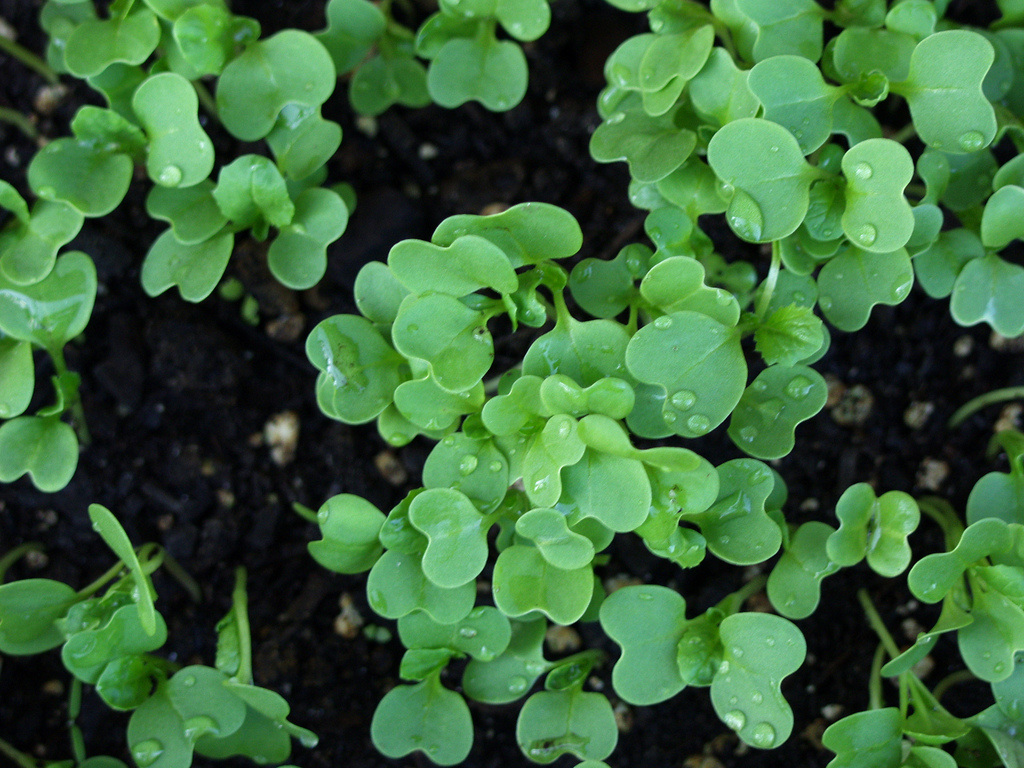
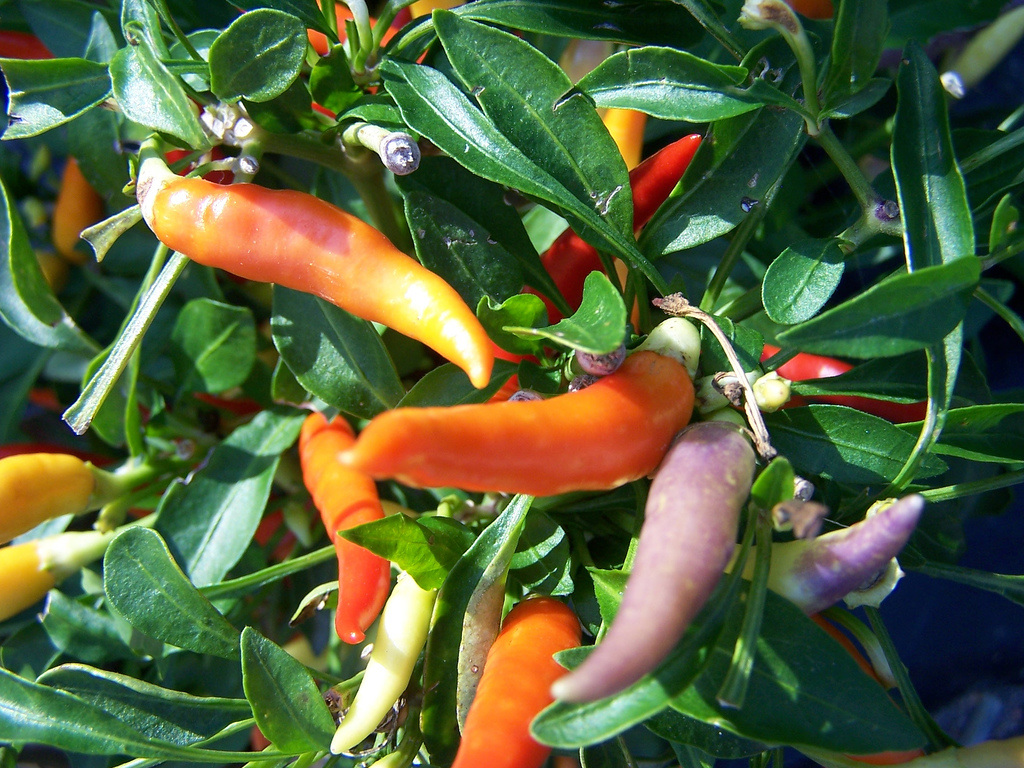
Vegetable gardens can produce healthy, pesticide-free food and provide hours of satisfaction and enjoyment.

Are you wanting to eat organic, healthier fresh foods, consider local food sources, use less packaging, contribute to food diversity and learn to feed yourself for food security?
The nutrient concentration is more dense in plants picked an eaten within 4-hours of harvesting.

Most veggies prefer full sun or at least 6-hours a day and require frequent watering.

I am registered with SHAREWASTE to accept local food scraps

To help you out with growing edible plants, I offer:
  • information below about Wicking Garden beds
  • DIY instructions including how to make a No-Dig garden with worm tower
  • information on how to create a wildlife garden
  • Planting guides that you can print and write on for Seasonal Veggies to grow in Melbourne
  • 'Permaculture MY Patch' combining a working bee with YOU, design, education and consultancy according to YOUR requirements in your garden space.  

Before you begin gardening, please consider your health with gardening. 

Health Risks:
Please see the document tab for more info and also www.health.vic.gov.au/health-advisories/health-warning-to-gardeners-using-potting-mix

Exercise safe handling of potting mix, compost, and soil.
  • Mask
  • Gloves
  • Wind
  • Droplets
  • Storage

​WICKING GARDEN BEDS

Approx cost per wicking garden bed would be $200-800, depending on recycled or purchased materials, soils/fillings, delivery and labour costs.

The steps below are guidelines that can be adapted to suit a residential situation or community setting:

Step 1 - Plan and prepare your site
Involve everyone on site to maximize the success of the project and consider:
-Are there body corporate, rental or council requirements and guidelines to adhere to?
-Do you need to apply for funding?
-What skills do people in the family or group already have?
-What areas would you need to train people up in?
-How would you hold discussions/meetings? Discuss health and safety before beginning?
-What will participants/family involvement to be? Roles, interests?
-Make a list of guidelines for use. (As a group/family)
-Will you have working bees?
-What are the benefits to the participants?
-Who will co-ordinate the garden bed project?
-What strategies can you envision for problems that arise?
-Who will maintain the garden? Do specific jobs?
-What will the daily, weekly and seasonal jobs be?
  • Plan site: Choose a level, sunny position with at least 6 hours of sunshine a day.
  • Measure site and plan to size requirements and sun aspects. Note winter sun changes the angle of sun.
  • Research and source materials for creating Garden Wicking bed (Click here for fact sheet) Wicking beds require no digging and use very little water as they water the plants from a reservoir in the base of the garden bed. The water is drawn up to the root zones through capillary action. This makes it easier for maintenance, especially in a Community setting or during holiday periods.

  • Research and source all other materials required. Soils, etc... list tools required. A large bucket or tub to store garden gloves, masks, trowel, hose, watering can. Community gardens, a plastic folder can contain all info, including roster for jobs and a notebook for comments in a group setting.
  • Check health and safety precautions (Left)
​
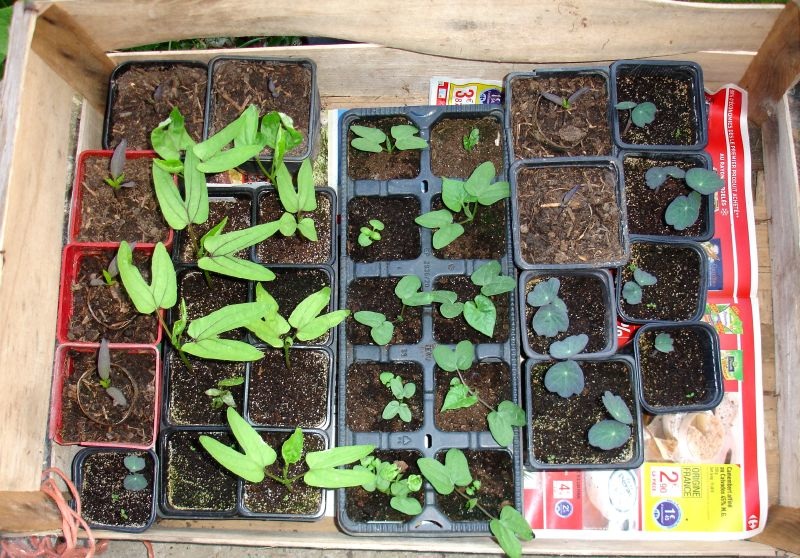
Step 2 - Collect materials and build.

Materials/Layers:
  • Container, timber frame, old veggie crates, bath, water tank, etc.
  • Course sand under the plastic liner to prevent perforations.
  • Line with black pond liner/ thick food-grade builders plastic. Fill with water over night to check for leaks.
  • Instal Agi (Agricultural) pipe, down pipe and overflow pipes (Wicking components)
  • Small sized pebbles (more expensive) or grey 7mm aggregate/screenings. (Course larger rocks and gravel can puncture the lining)
  • Lay geo-textile fabric over top of wicking area right to edges and up a little to prevent soil entering the reservoir layer.
  • Place a good rich compost/soil layered mix on top, approx. 30cm deep.
  • Add Worm Tower while filling up the soil level.
  • Fix strings approx 30cm apart in a grid across the bed if choosing Square foot gardening style.

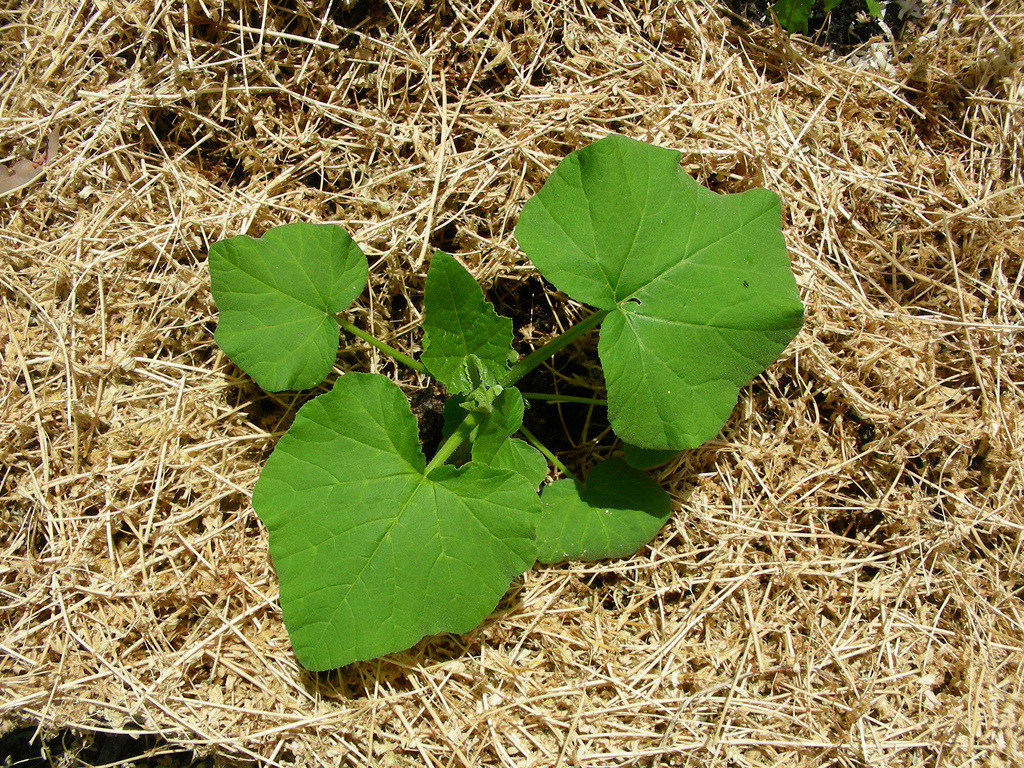
Step 3 - Add plants and mulch
  • Square foot gardening style enables you to grow a variety and gain high yield while maintaining the space requirements each plant enjoys. See planting guide above.
  • Choose what to plant according to the season and location of your area. (Or contact for consultation)
  • Plant seedlings or seeds (Seeds are less expensive however require planning ahead)
  • Make tags/signs for your plants
  • Mulch: Sugar cane, lucerne or pea straw
  • Water in well
  • Make snail protectors if necessary for seedlings

Other considerations
  • Check all steps above to ensure the greatest success of the project. Involve and engage the whole family or community in the Garden project from start to harvesting and eating. This increases success by encouraging a sense of ownership, belonging and respect as well as many benefits of being outdoors with Nature.
  • Ideal bed heights: Standing 750-900mm Sitting 600mm
  • Ideal bed width: 1 side access: 500-600mm and 2 side access: 1000-1200mm
  • Compost, worm farms or worm towers? To use you shred up veggies, fruit etc before placing in and worms and friendly bacteria create a healthy, organic, fertilizer from it. Research healthy composting and worm farming and make a sign as to what to put in and what worms dont like. If a large center, consider a Worm Farm 'Hungry Bin' from the Port Philip Eco-center.
  • In Early Childhood settings/centers, incorporate Environmental Education (E.E.) into your curriculum with this practical hands-on project!
  • Research seed and seedling stock and look at Heirloom varieties to maintain species diversity which is essential for future sustainability. Be mindful of seeds coated in fungicides and pesticides.
  • Research organic pest control measures.
  • Research Permaculture methods and companion planting.
  • Avoid pesticides by keeping your garden healthy. The food you consume will provide you with greater amounts of trace elements and nutrients, especially if eaten within 4 hours of picking.
  • Look at incorporating edible indigenous foods to your garden.
CONTACT

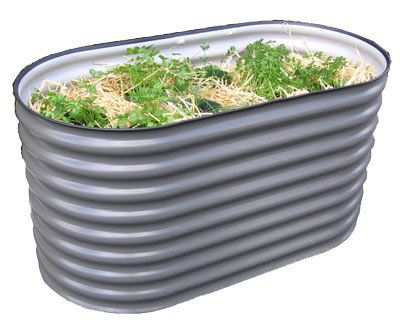
​​COMPLETE WICKING GARDEN BED

Cost is approx. $900-$1600 depending on garden bed size and other requirements.
​DIY with an old bath or spa for a much cheaper alternative!
​
Includes:
  • Garden bed
  • Watering wicking system (Allows for more efficient and less watering.)
  • Soil and filling materials
  • Worm tower and worms
  • Seeds and seedlings
  • Mulch
  • Delivery of all items

Features:
  • Colourbond ® colours
  • Solid one piece kit construction – single sealed joint 
  • Top edge protected by heavy duty PVC Pinchweld Strip 
  • Stainless steel cross bars to prevent side bulging
  • Self Watering System allows for more efficient and less watering


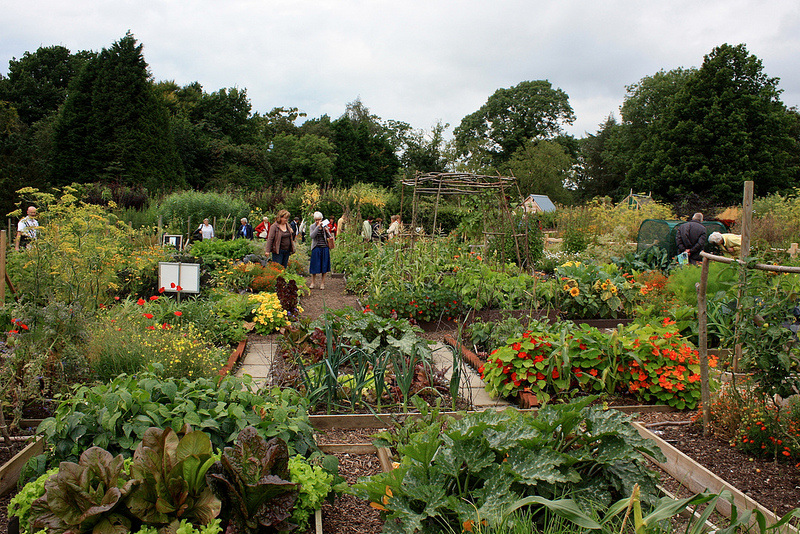
This large size wicking garden bed would suit a center, apartment block or family learning to grow their own veggies and herbs. 

Picture
Image source
http://www.theveggiegarden.com.au/

LANDSCAPE DESIGN AND HORTICULTURE SERVICES TO INSTALL YOUR WICKING GARDEN BED (on and off-site)
Additional $600-$900 labour per project dependent on scope of project. 

Includes:
  • Site inspection. 30 mins (Servicing Sth Eastern Suburbs of Melbourne)
  • Consultation: With interested family/ staff/on or offsite email, horticultural aspects, recommendations, maintenance, resident involvement, etc. 1-2 hrs
  • Documentation: Researching, sourcing and ordering materials.  2-4 hrs
  • Labour and assistance with ‘Working Bee’ to install, fill and plant. 3-4 hrs (Additional labour costs without your 'working bee' input)
  • Maintenance Plan Guide Booklet. Including OH&S, site specific information, maintenance, planting, harvesting, etc.  4 hrs 

If you need a helping hand with planning, organising, seasonal planting, maintenance and guidance and personalized assistance with your garden, please inquire about a consultation or Permaculture MY Patch


LOCATIONS
For Glen Eira, Port Phillip and Stonnington regions of Melbourne
(Outside these areas - additional travel time allowance is charged)
WORKSHOPS & ENVIRONMENTAL EDUCATION FEE INFO
Greensong Home Page
Home
© Deborah Punton

Powered by Create your own unique website with customizable templates.
Photos from jspatchwork, gardengrrrl, Doug Beckers, MizGingerSnaps, hardworkinghippy, post406, Neil T